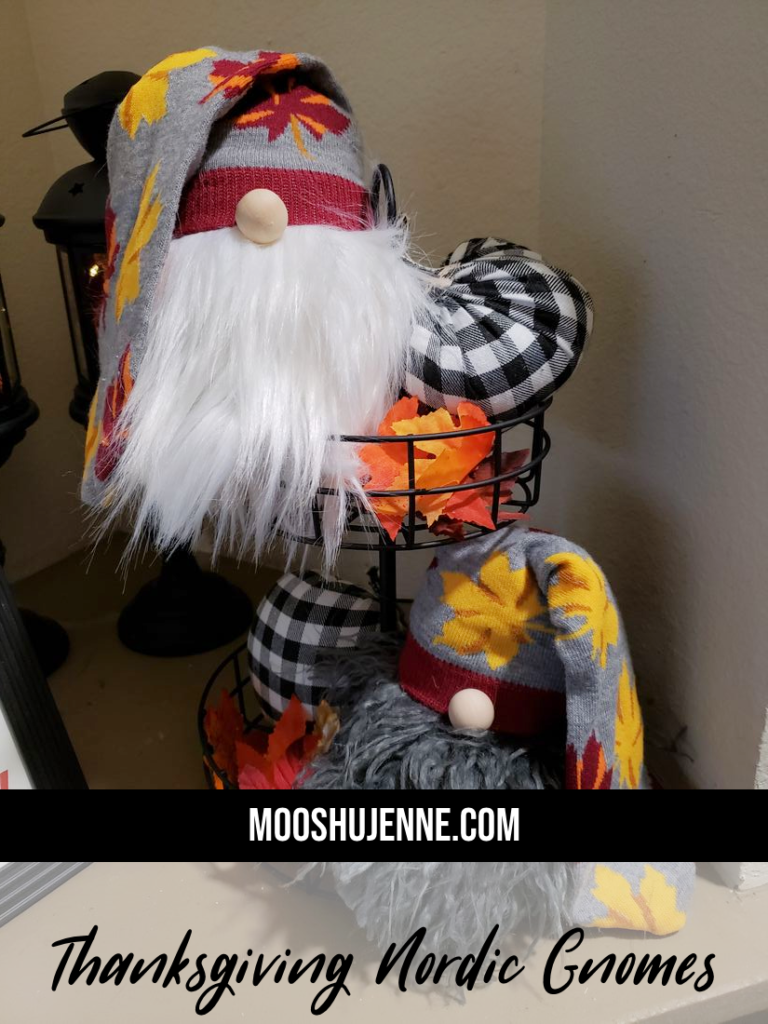
Thanksgiving Nordic Gnomes
Thanksgiving seems to be that holiday that some people skip and go right to Christmas. I always do Thanksgiving but never get lucky enough to get all the decorations up that I’d like to. These Thanksgiving Nordic Gnomes were made in just 30 minutes for easy Thanksgiving seasonal decor.
The gnomes require just a few items to make them. Super easy DIY gnomes for setting in your tiers or can be easily placed on any shelf. I love easy decorations that don’t take much to make. Below you can see the items it takes to make these gnomes.
Items Needed To Make Thanksgiving Nordic Gnomes
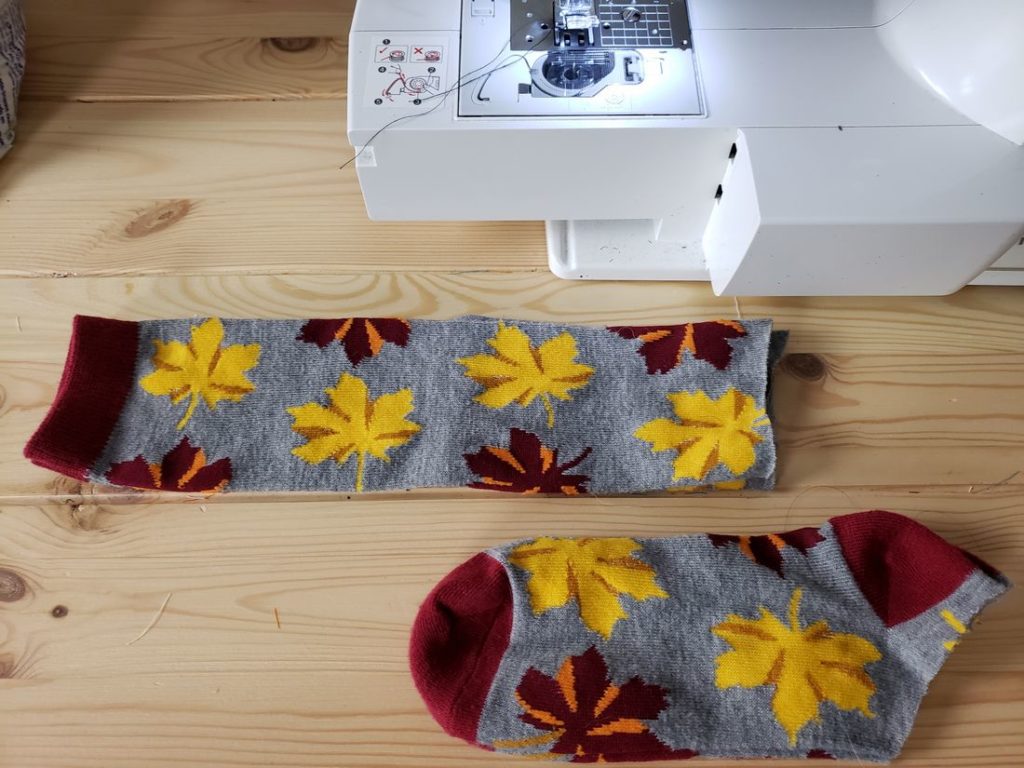
- 2 long socks of choice
- 2 cups rice; for filling (can use beans or polyfill)
- hot glue
- hot glue gun
- crafting fur; this can be found in small pieces or large at fabric stores
- wood balls; use the size of how big you would like the nose to be
- thread for sewing; these can be hand sewn or on a machine(I prefer machine but will mention the no sew method below)
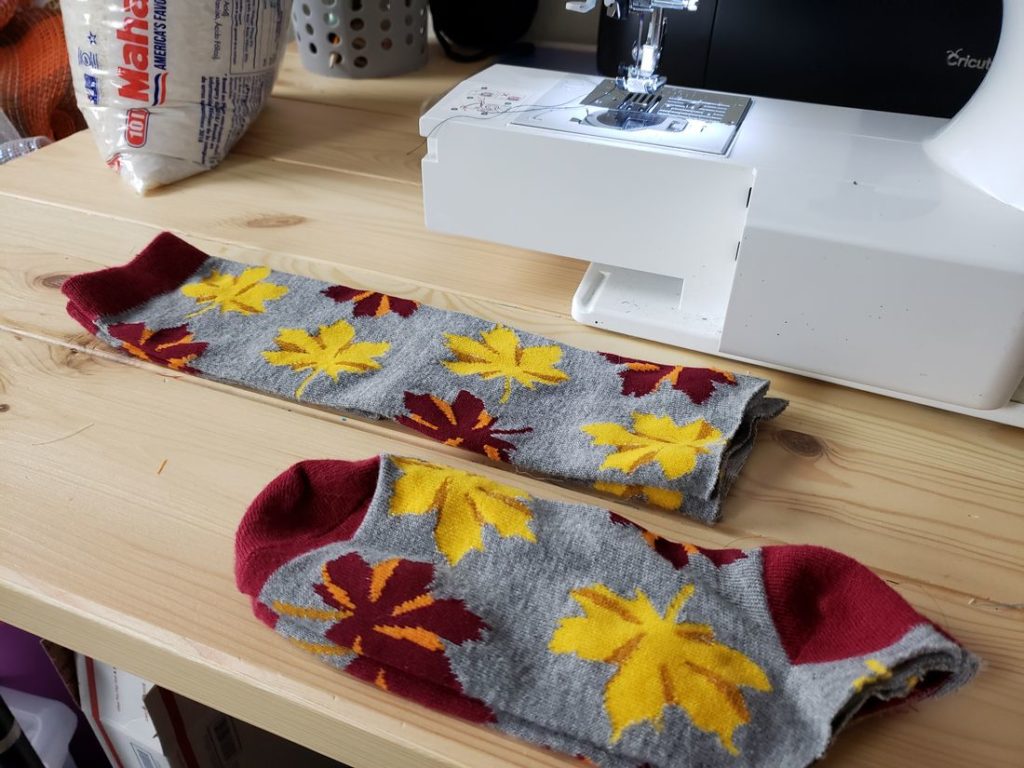
First, cut the sock at the heal. The foot part of the sock is going to be your base. This is what you will fill with rice. Fill the bottom with rice and then sew across the top. Stitch this on a machine for best results. Hand stitch or hot glue for a no sew method will also work. Just clue where you would stitch.
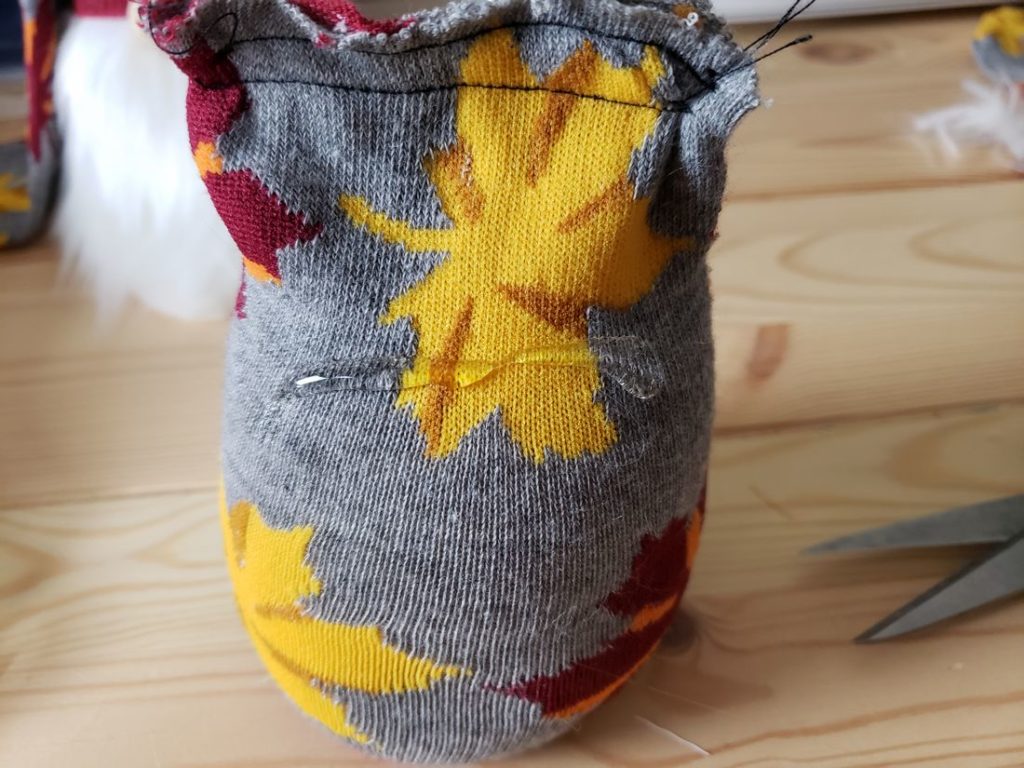
Second, once you have the sock filled with rice use hot glue to flip the top and secure it to the back. This will help from the flap not hanging. Set aside the bottom. It’s time to work on the top part that’s the hat.
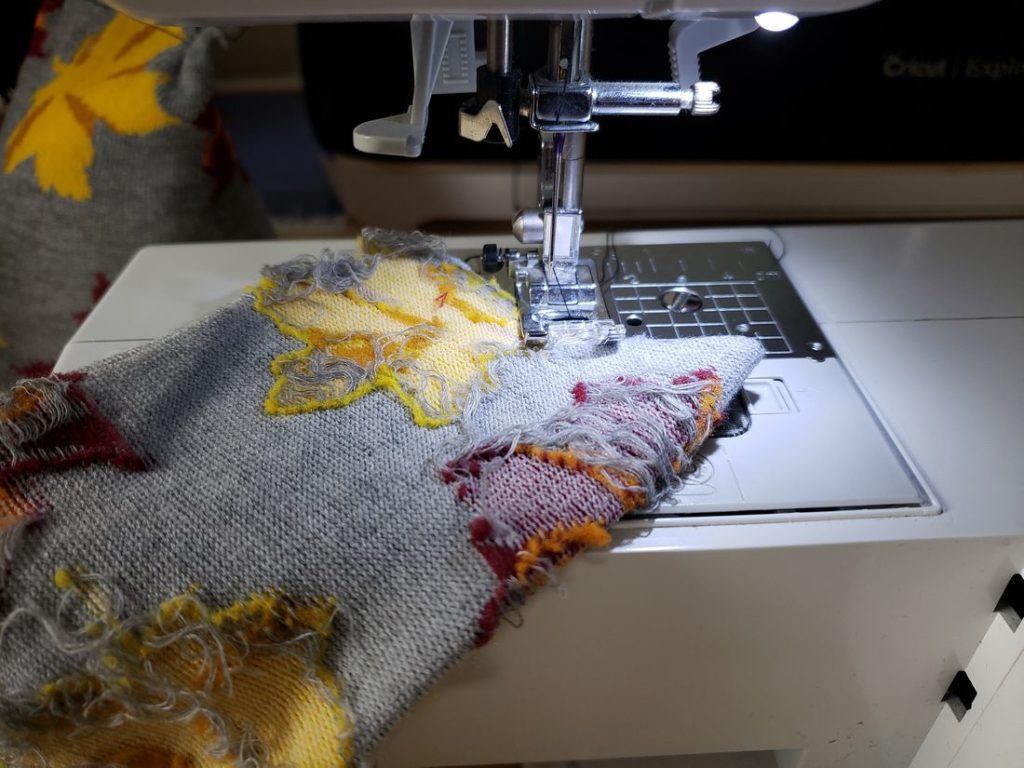
Third, take the tip of the long part of the sock that is open and cut (not the end with the band) and cut into a outer upside down V shape making the tip of a hat like Santa’s hat. Stitch this inside out and flip right side in. Set aside. (glue if gluing or hand stitch)

The Gnome Beard:
Once the bottom and top is make take the fur and cut to fit the bottom of the body. Details on how to do the beard can be seen in this Halloween Nordic Gnome post. Hot glue the beard to the body then hot glue the long sock with the band end over the top of the body along with covering some of the beard.
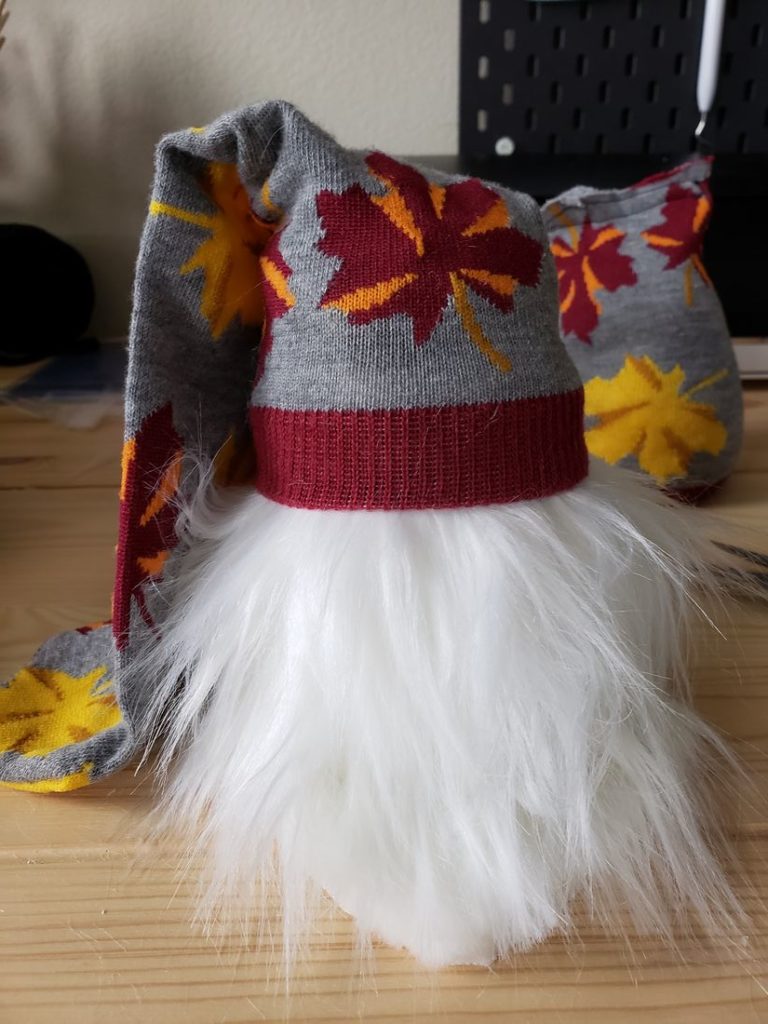
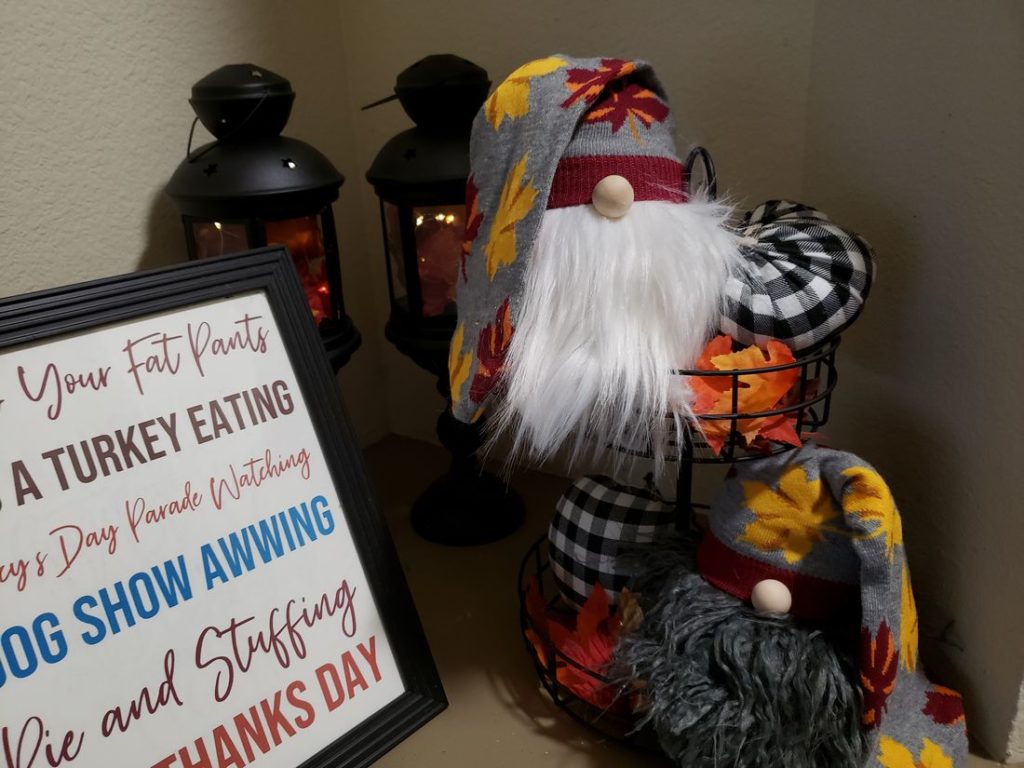
Lastly, hot glue the hat in four places around the band underneath to secure it. Using the wood ball place it where you’d like the nose and hot glue. Now that your gnome is finished give it a name! Meet Pumpkin and Cherry!
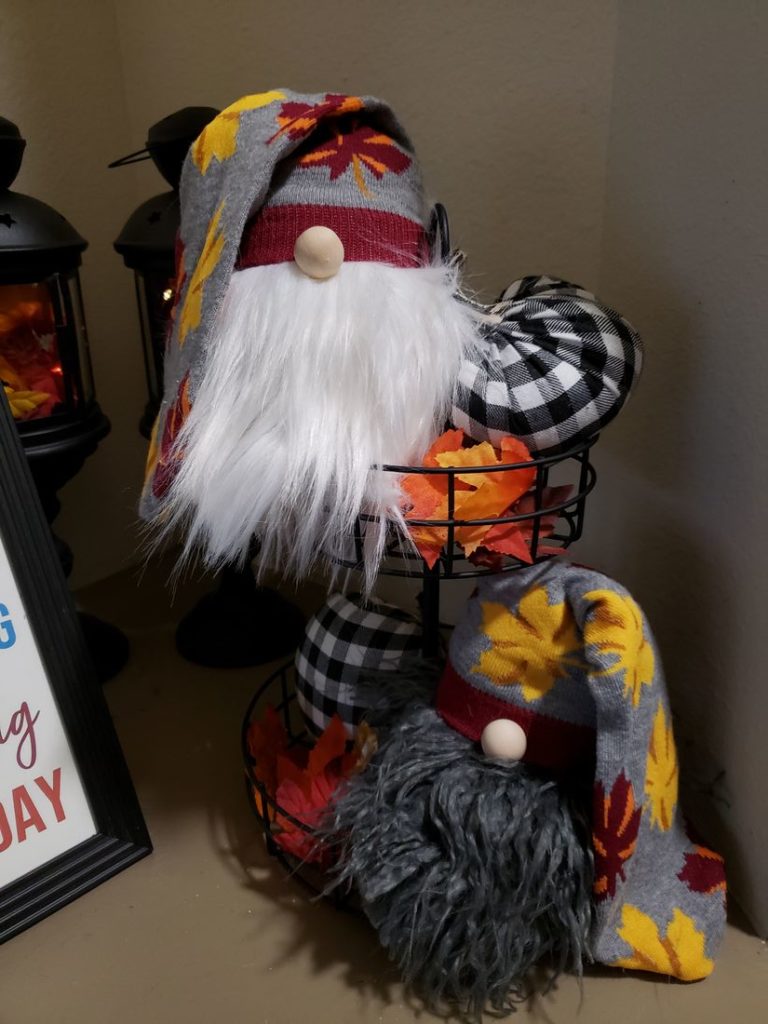
My Thanksgiving Nordic Gnomes are displayed in an black tier I got from Target bulls-eye area. I have some fake leaves from Dollar Tree and some the gnomes. Behind them I have some more fake leaves and fairy lights from Dollar Tree I added for fun. Hope you stick around for more seasonal gnomes coming your way!
Pin Me: