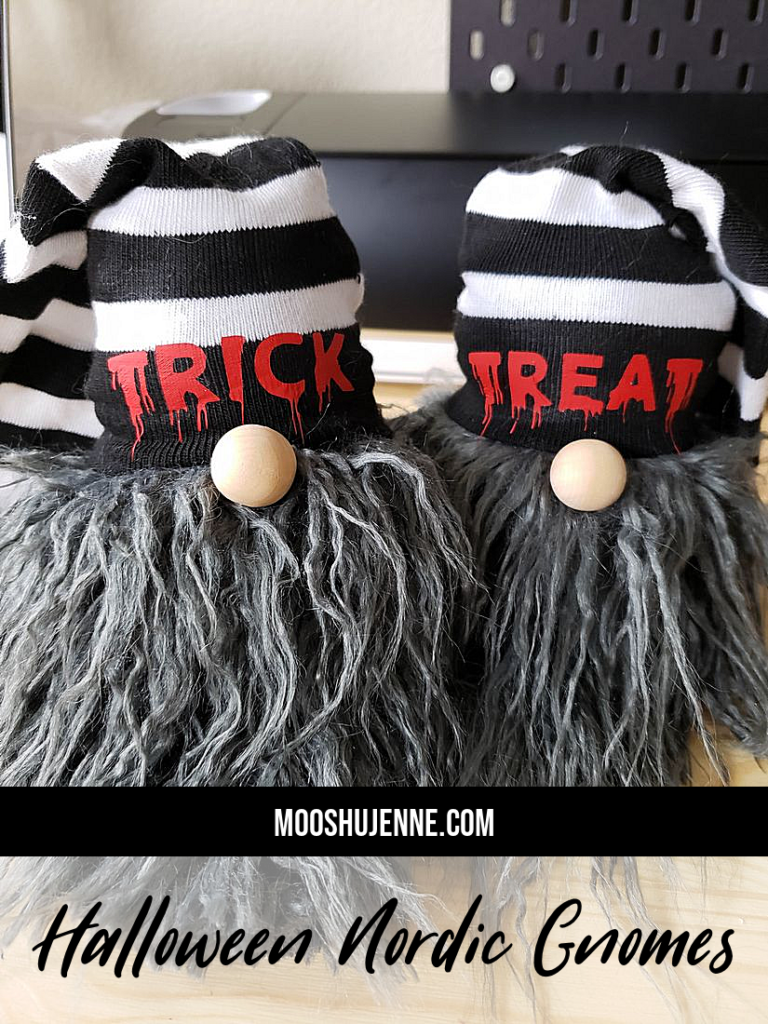
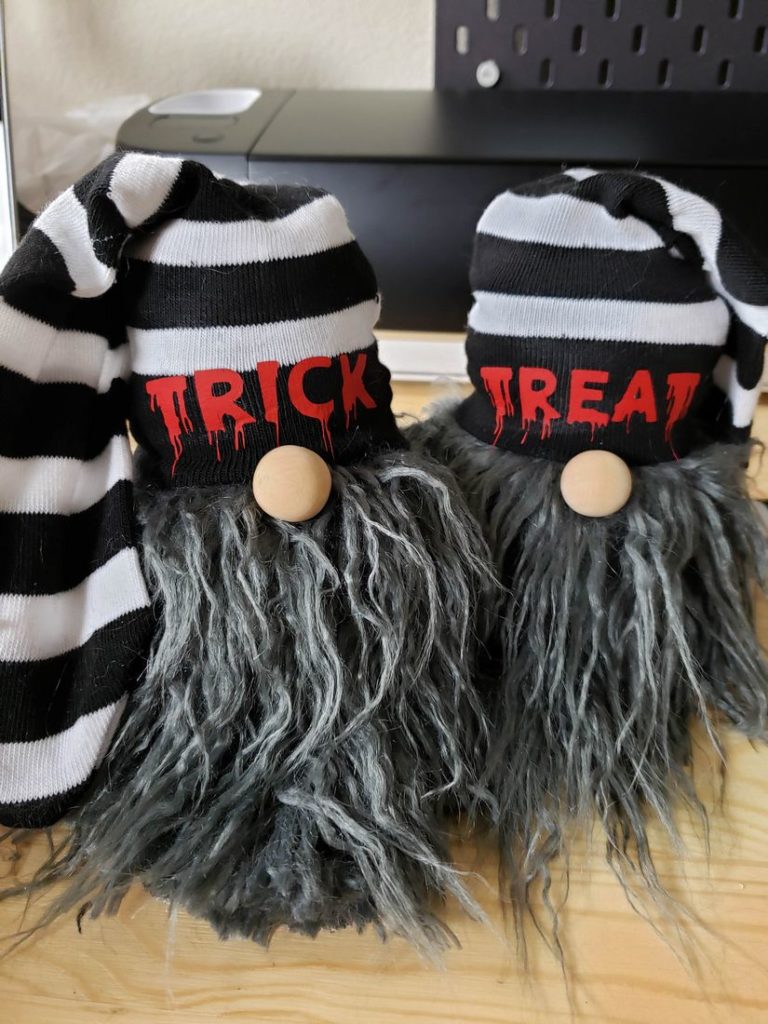
Halloween Nordic Gnomes
Nordic gnomes are like a guilty pleasure. Everywhere I see a gnome I get giddy and just pop over to have a look. Each month I plan to bring a new how to make a seasonal nordic gnome to the blog. The first one is the Halloween Nordic Gnomes.
Items Needed For The Halloween Nordic Gnome:
The Halloween Nordic Gnomes is made with two long knee socks. These socks are black and white striped but could be any colors you prefer. Rice is used for the stuffing along with faux fur for the beard and wood balls for the noses. We use rice over beans because it works best for us. To add the names we used the cricut explore air 2. It’s a cutting machine that cuts vinyl in case you’ve never heard of it.
When buying faux fur it can get expensive. Since I am doing multiple gnomes I bought the faux fur at the fabric store and used a coupon. There is craft fur in most craft stores that can also be used if your just making one gnome. Hence there is different looks too which equal to different costs.
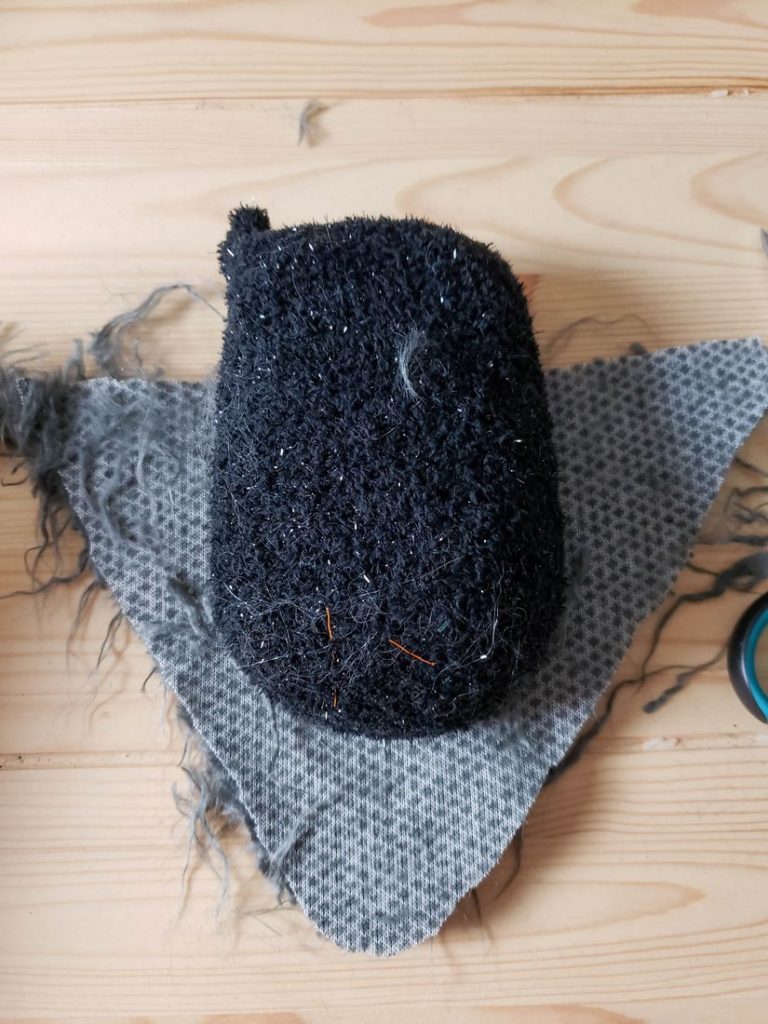
Once you’ve picked out the socks you like and the faux fur the next items you’ll need are a hot glue gun, sewing machine (for best results but can hot glue instead) and scissors. Take the sock and cut right at the ankle. Fill with rice leaving a small amount of room for sewing or hot gluing to seal.
The Beard:
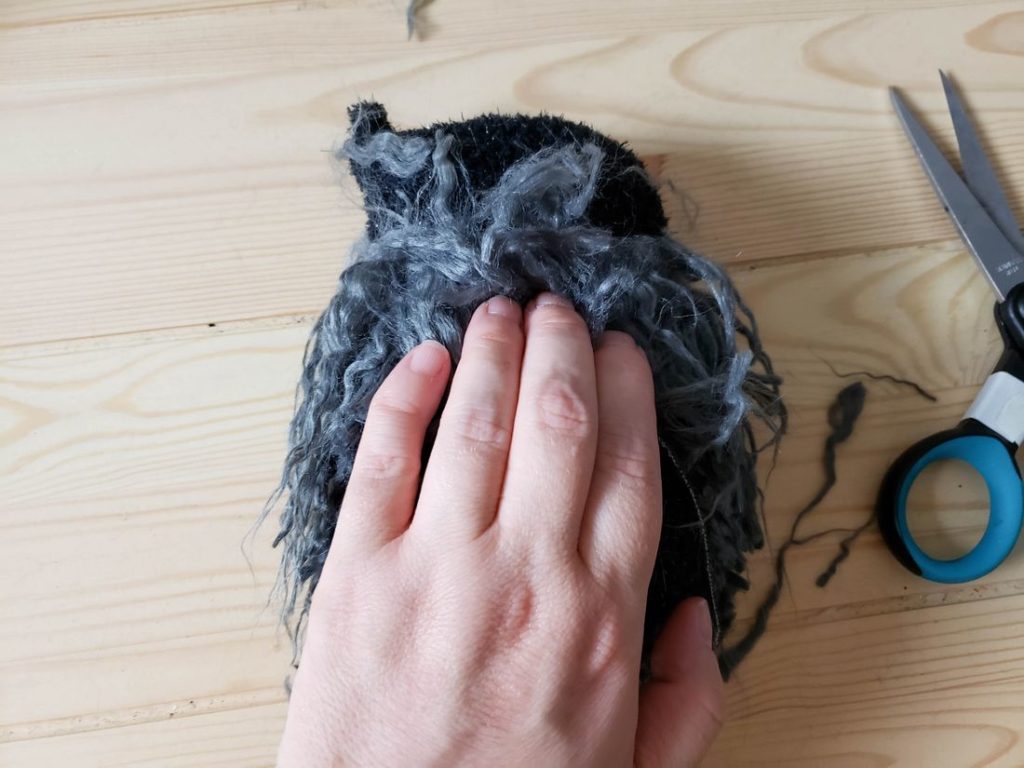
Once the sock is filled either sew off the top or hot glue. Sewing even hand sewing is going to hold better and we suggest this. After the top is sewed/glued cut off the excess and hot glue the flap to the back of the body. Measure the beard as you see above. Cut it to fit the length you’d like along with making sure it fits around. Hot glue all the way around the top edge.
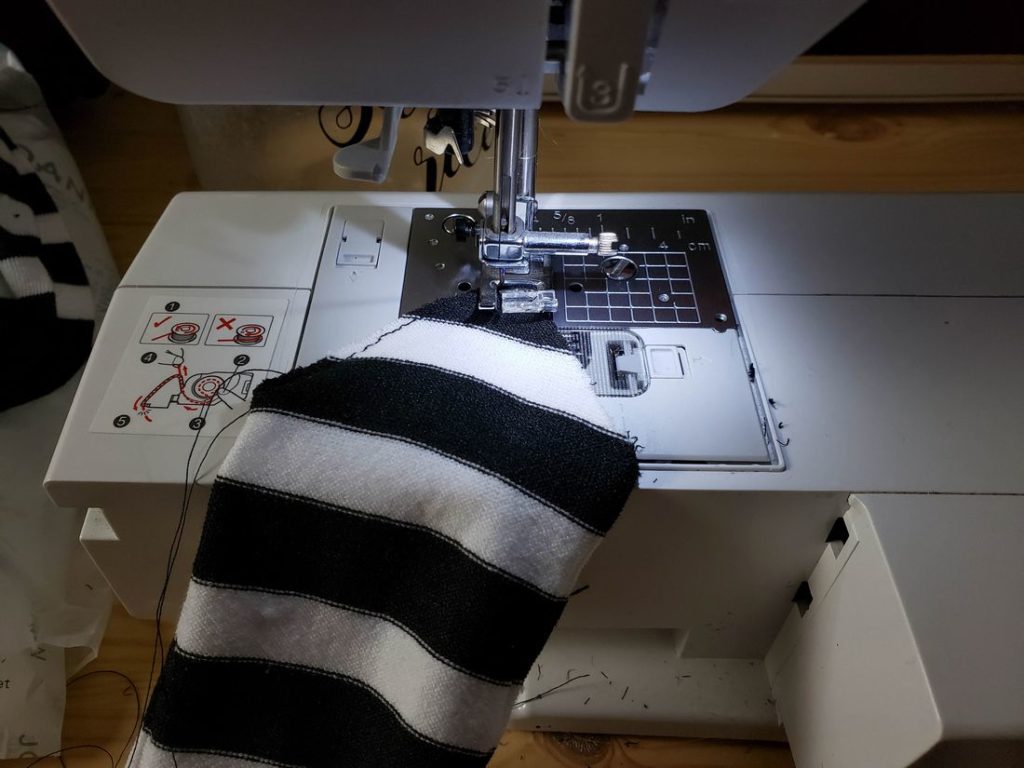
Sew the other part of the sock in a V shape to make a point (inside out). This will be on the end you cut from the ankle to the knee. Once you have the V sewn (or hot glued) trim off excess and turn it right side in. Place the band end over the gnome to cover the top.
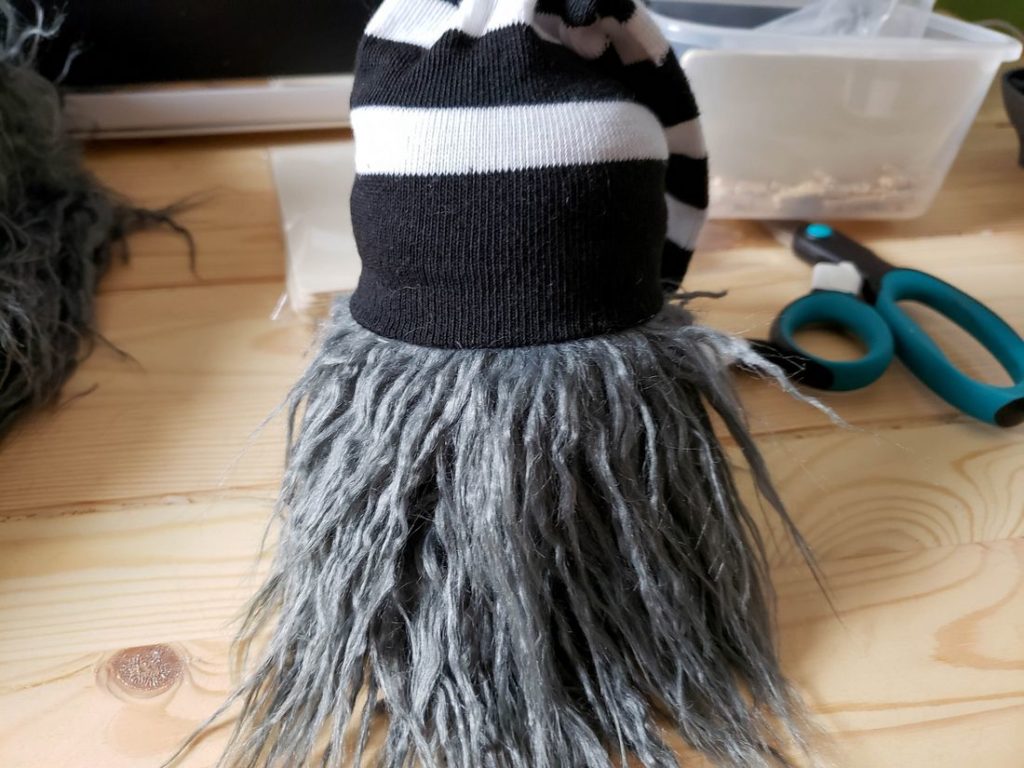
Hat and Gnome Nose:
Once the sock is set where you like it hot glue in four points front, back, and sides. Then hot glue the wood nose on the front centered. If you would like to add a name to your gnome this can be done with a cricut explore air cutting machine (or other cutting machine). We used red heat transfer vinyl here to make the names trick and treat out of SVG/PNG files.
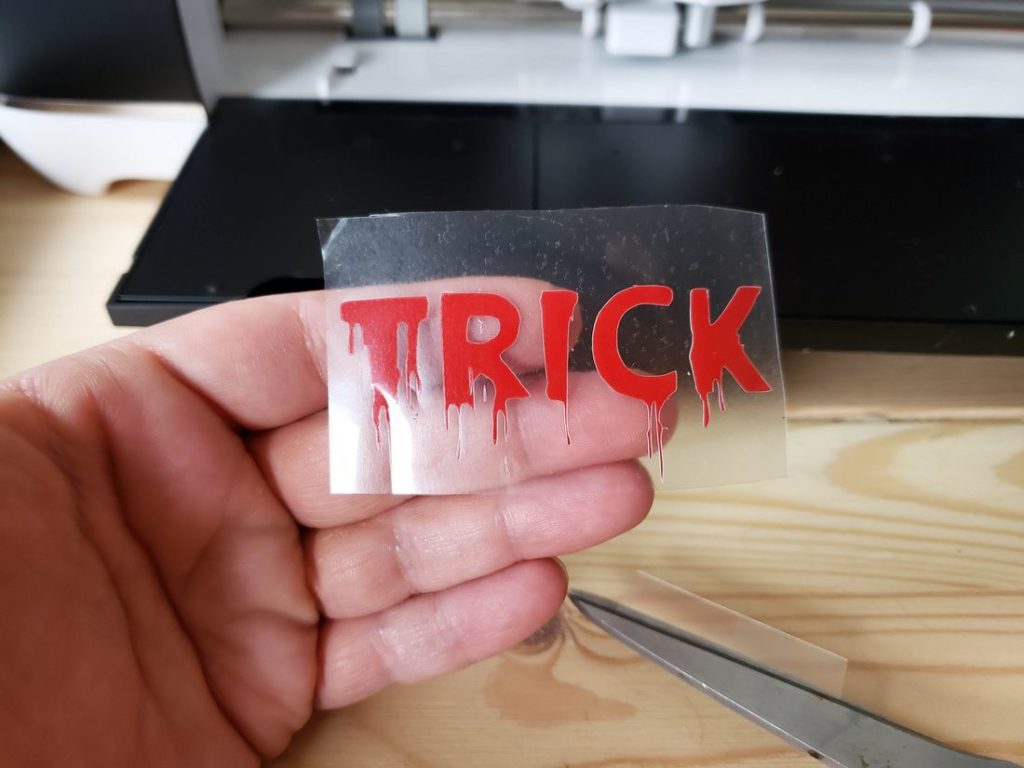
Using a png file we cut red heat transfer vinyl out to the size we needed to fit on the hat. We cut with transfer sheet side down on iron on setting for cricut. After cutting we weeded the design then press it with the easy press to the hat. Peel back the transfer sheet then let cool.
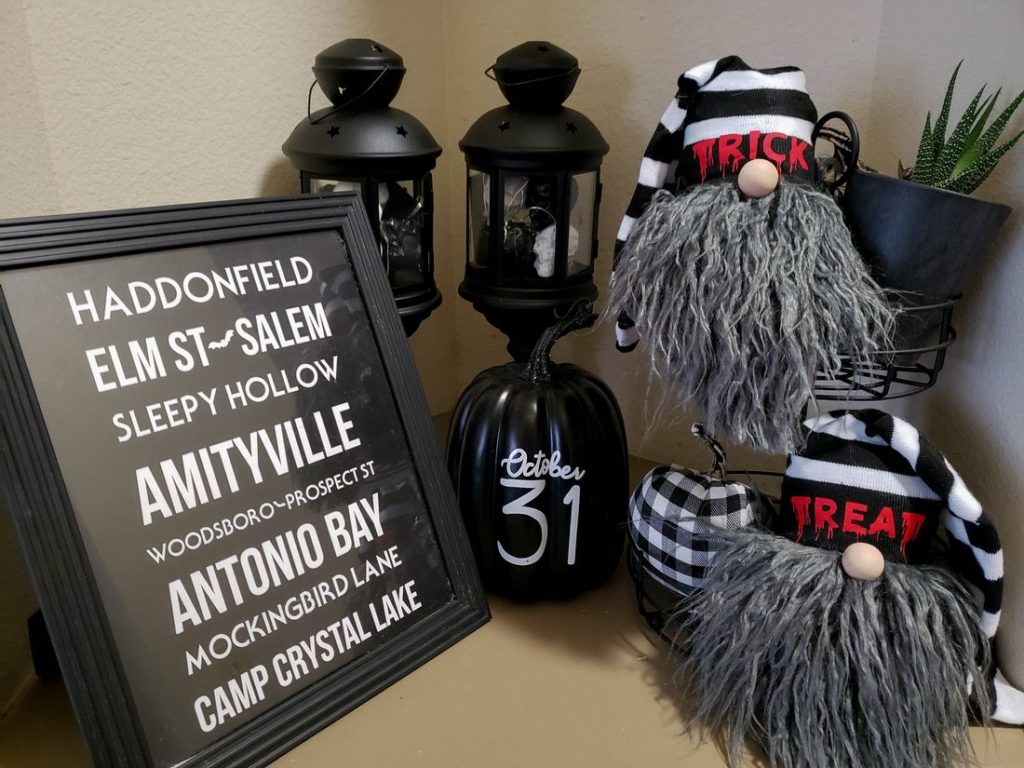
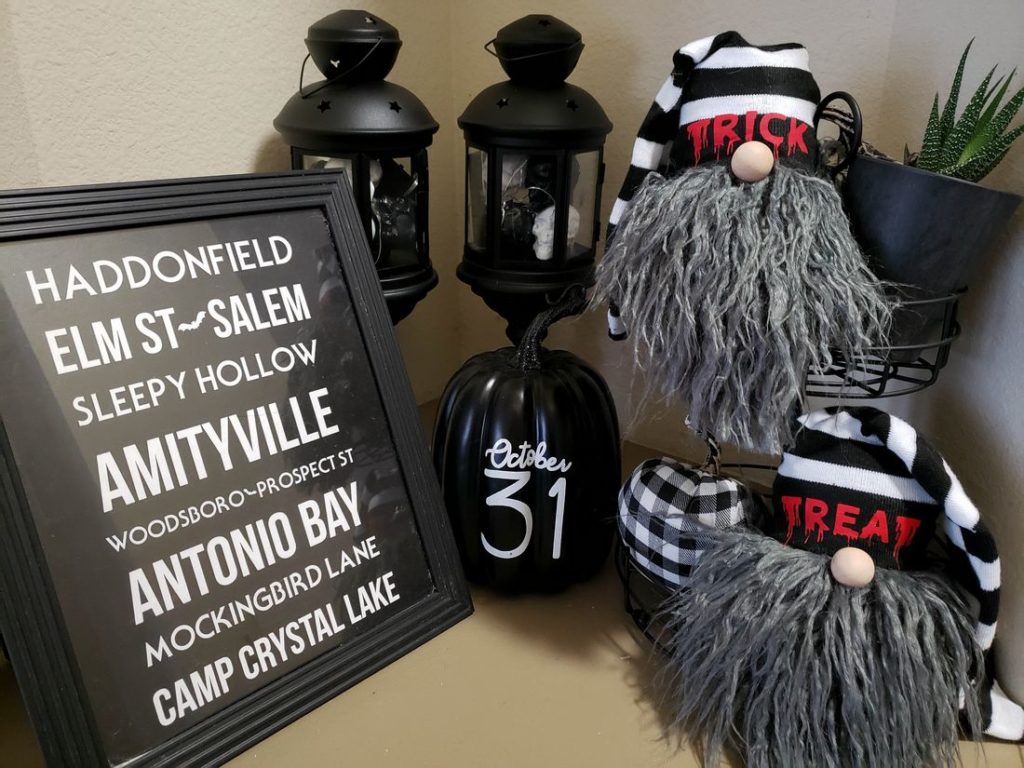
Once they are done I like to set the in my target dollar spot/bullet area tier I grabbed for $5. This is the area in my home other than wreaths on the door that I change out seasonally. The lanterns in the back have fairy lights and skulls.
The rest is also from Target including the super cool October 31st pumpkin my daughter grabbed up for my birthday. She knows how much I love Halloween and decorating for the seasons. How will you make a gnome and will you share it with us here! More cricut projects here!
Pin Me: