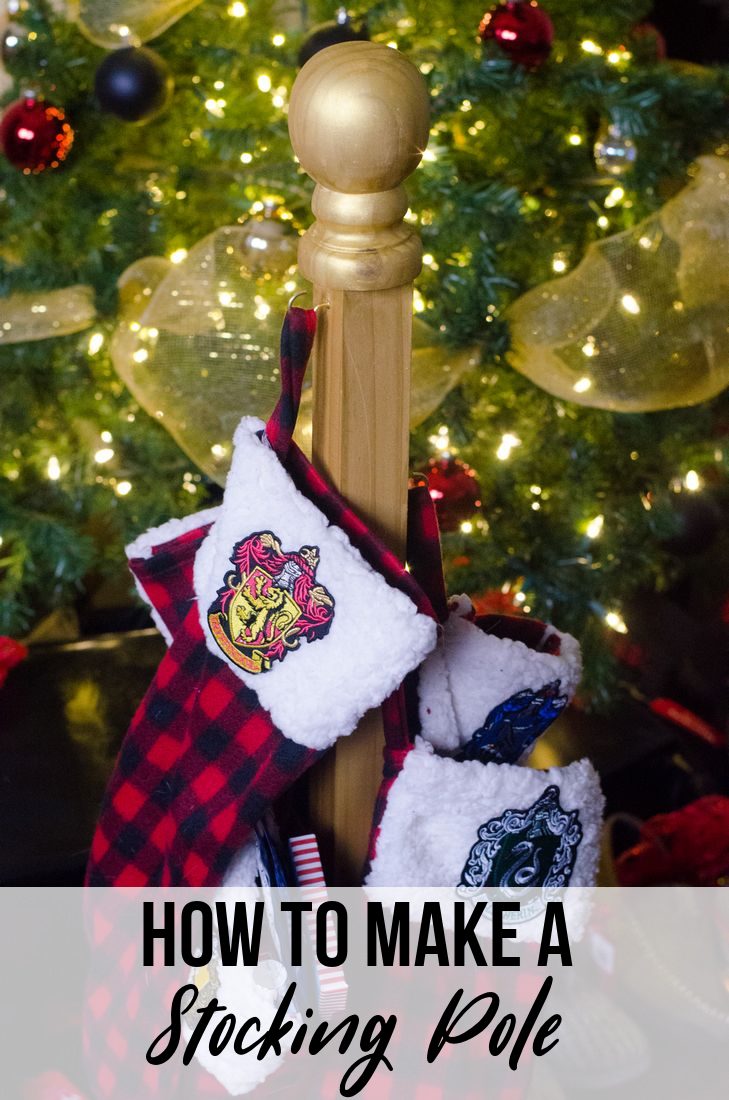
How To Make A Stocking Pole
Do you have the dilemma of not having a fireplace? Looking for a place to hang those Christmas stockings without having to make a cheesy fireplace from cardboard. If you answered yes to those questions then your going to love my tutorial on how to make a stocking pole.

This stocking pole is really quite simple. Additionally, it can be made for about $10 to $15 depending on how you plan to decorated. Hence, I used acrylic paint which is inexpensive and did one color so there was no need for painters tape for stripes.
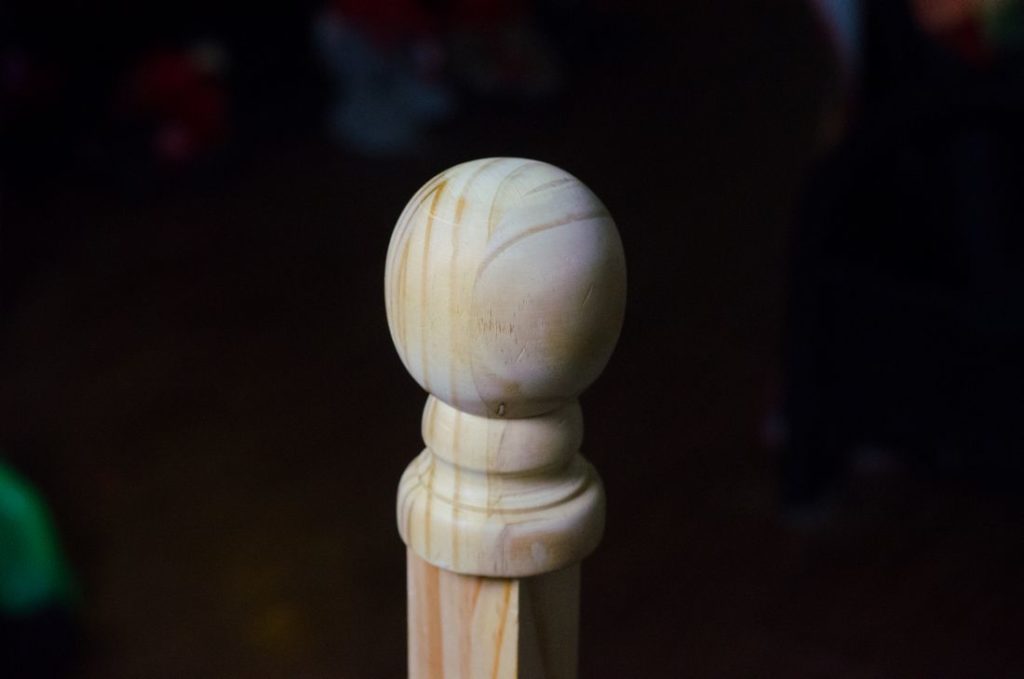
First, we shopped the staircase section at the hardware store. Second, we picked up a staircase knob that already had screw in it. Additionally, we picked up a piece of wood we like that was in the scrap area. The wood had good height to be able to fit the six stockings on it.
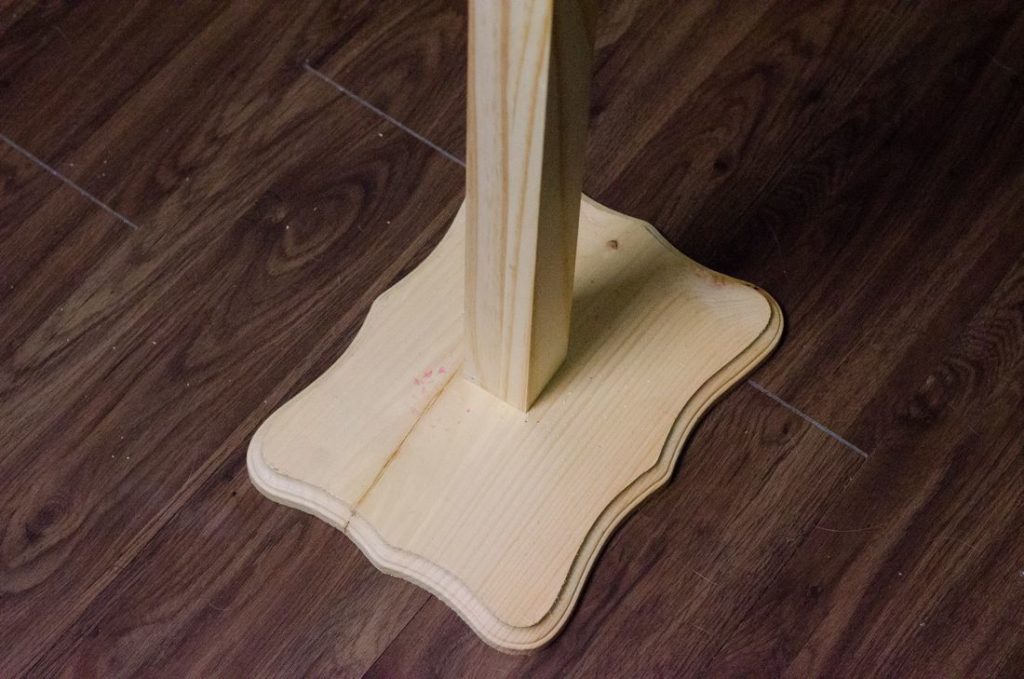
Lastly, I already had a base from Hobby Lobby that I picked up the year before in the wood section. Hence, the base has some artistic curves to the wood which adds to the look for the stocking pole.
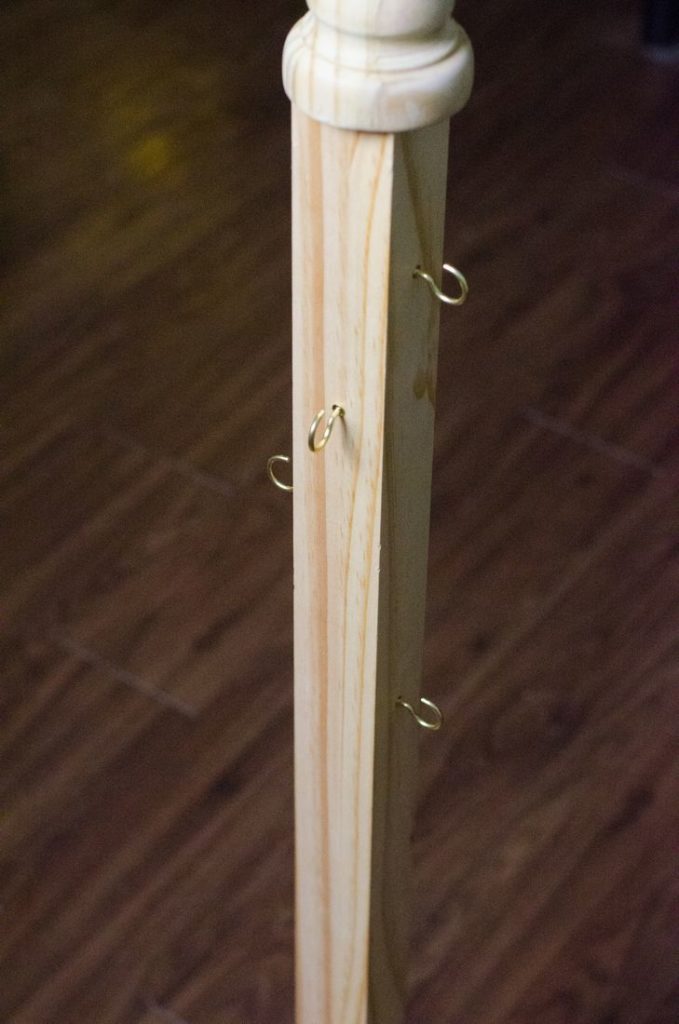
How To Make The Stocking Pole:
Drill a hole in the top of the long piece of wood. Screw in in wood pole topper. You may add wood glue or E6000 glue at this point but it’s optional. Drill hole into the base then drill hole into the bottom of the long wood piece.
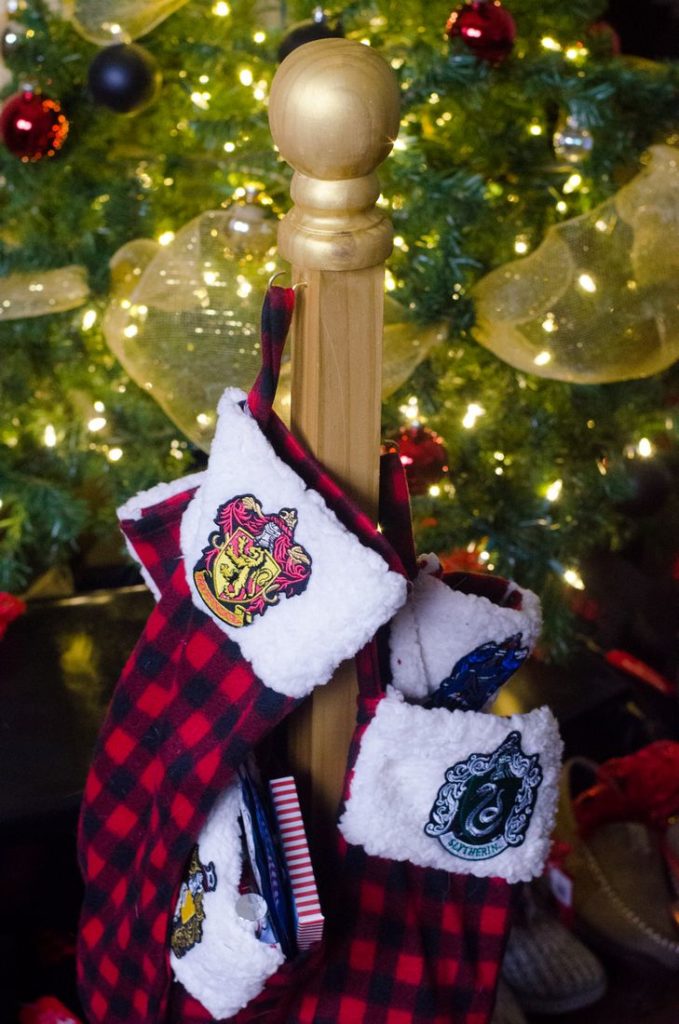
Place screw into the wood pole and turn into the bottom piece. Again you may glue for extra security. Let dry for 36 hours. Additionally, drill holes into the pole where you would like the hooks. Screw in hooks to the wood.
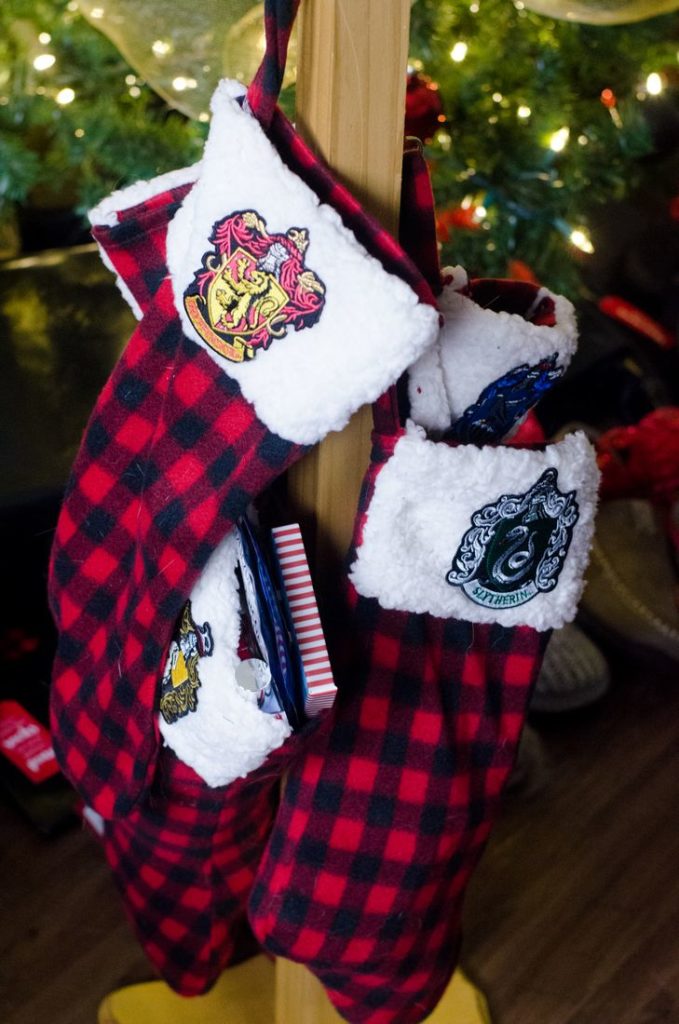
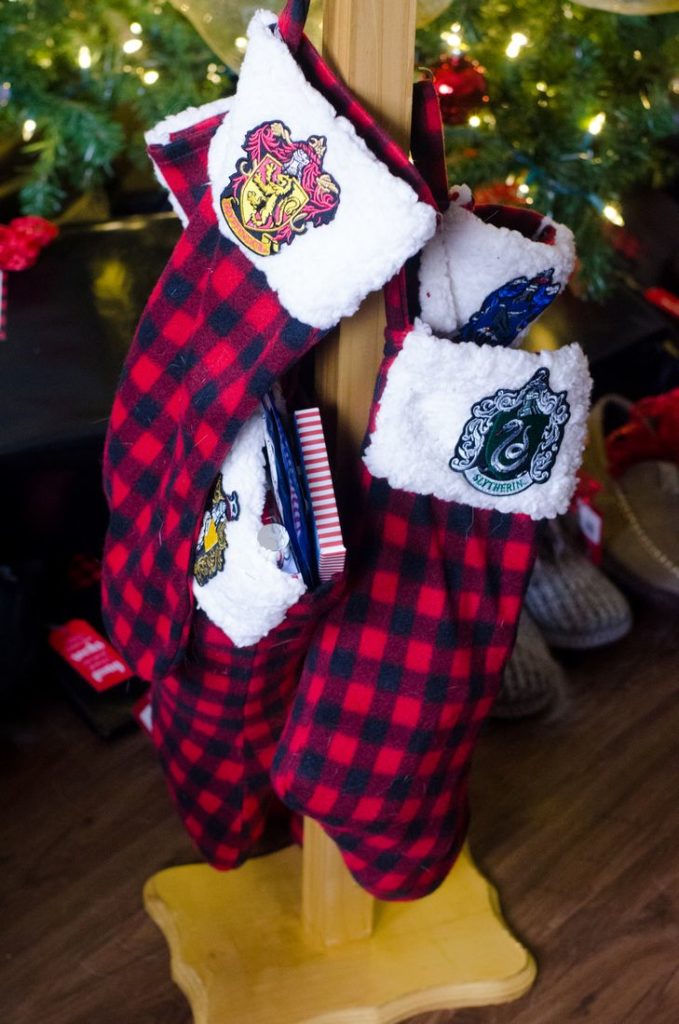
Once everything is completed you can paint the pole however you would like. As you can see we did gold to help pop the colors of our Harry Potter Christmas stockings. Though you can place painter’s tape around the pole and paint red then remove the tape and paint white for a striped pole like polar express.
Pin Me:
