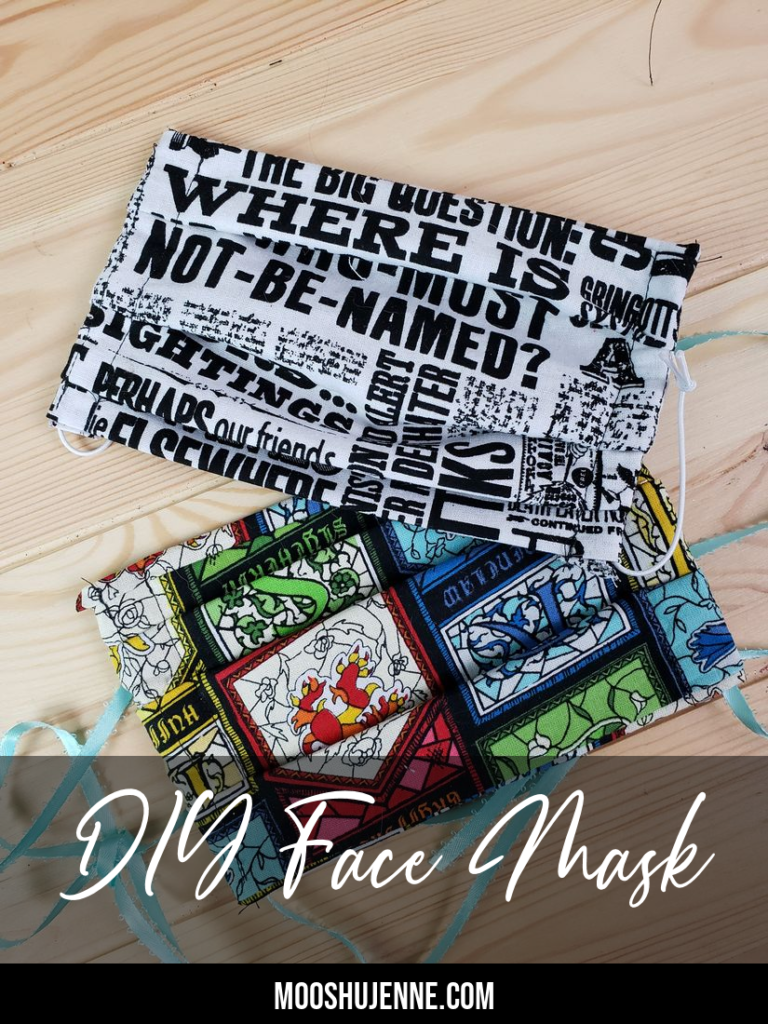
DIY Face Mask
A DIY Face Mask can be used for a variety of reasons from health concerns to keeping out dust or small particles. This mask isn’t a PPE and should not be used to replace one. However, when in need, a face mask can help those with low immunity when going out in public.
This mask is constructed with 100% cotton. It has three layers and allows for a filter to be inserted into it. Filters can be interfacing, another piece of fabric, and even some have used vacuum cleaner filters.
What Do I Use To Attach The Mask
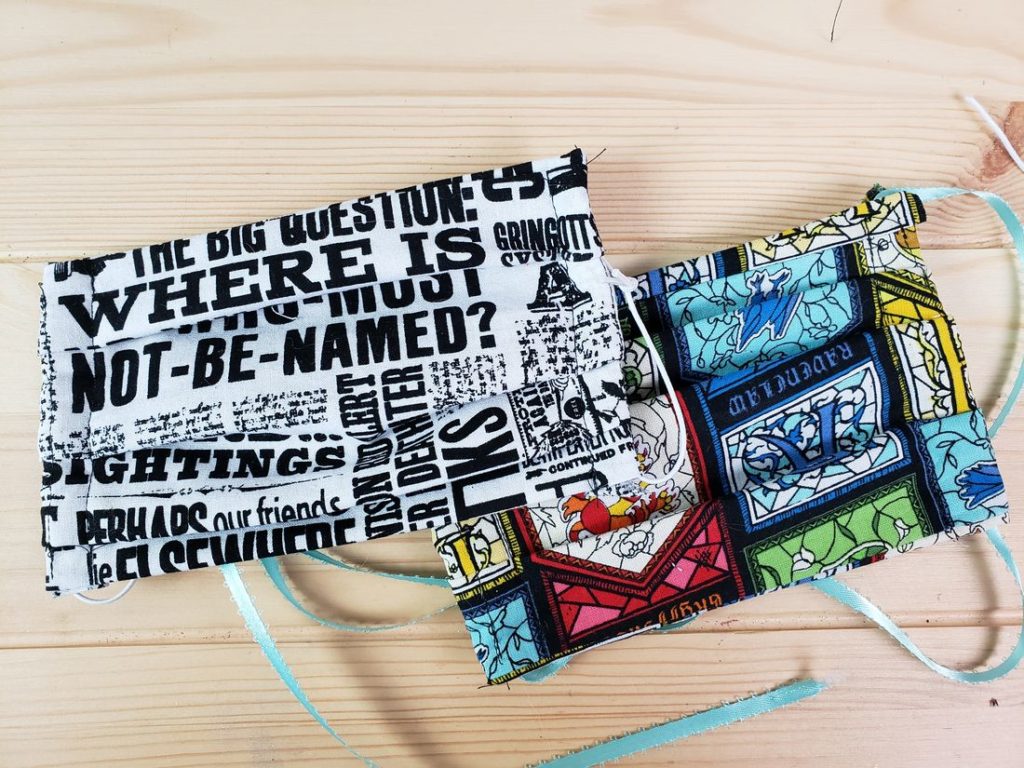
There is a few ways the mask can be attached to the face. One is elastic cord that is not latex. If you are making these for a hospital 100% cotton with latex free elastic is best. Second use flat elastic which we’ve found to work; but not be as comfortable. Third, ribbon or shoe strings can be used. Cording will work for threading and attaching too.
Just for extra information we’ve found that some ribbon will fray and should be a last resort. Elastic works the best overall. My husband didn’t like the elastic and used shoe laces to tie on the mask.
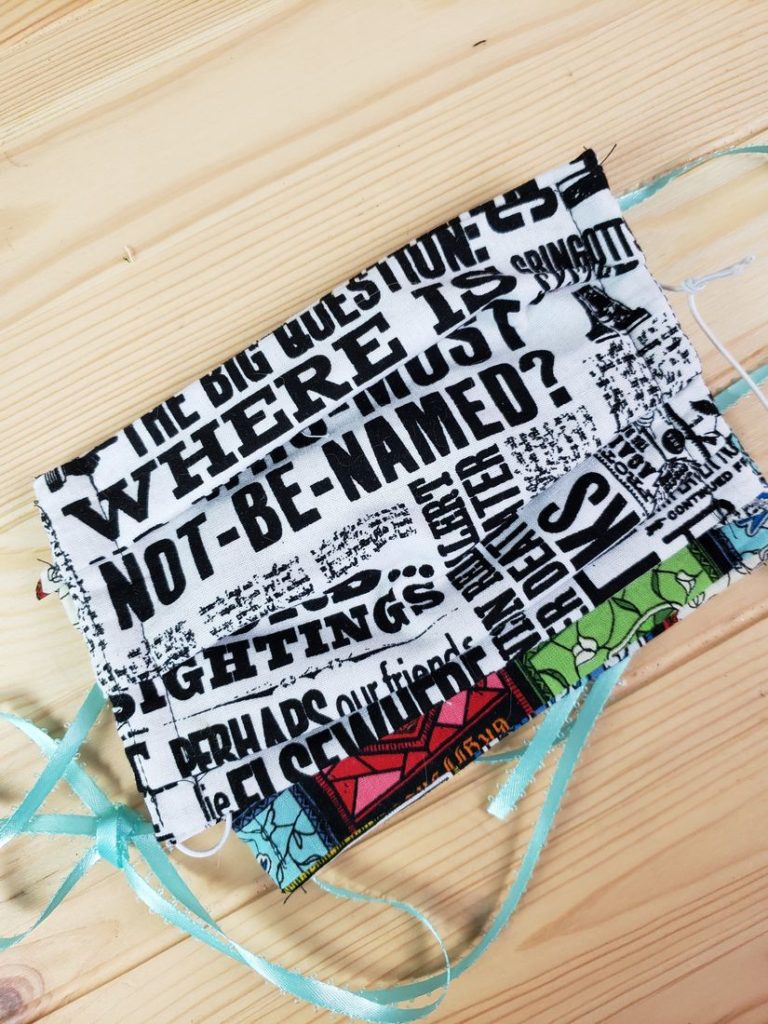
Fabric is used in place of elastic to make ties if you cannot find elastic. I’ve also heard of some buying large flat elastic and then cutting it down to smaller strips to be comfortable. Just get creative!
Step One
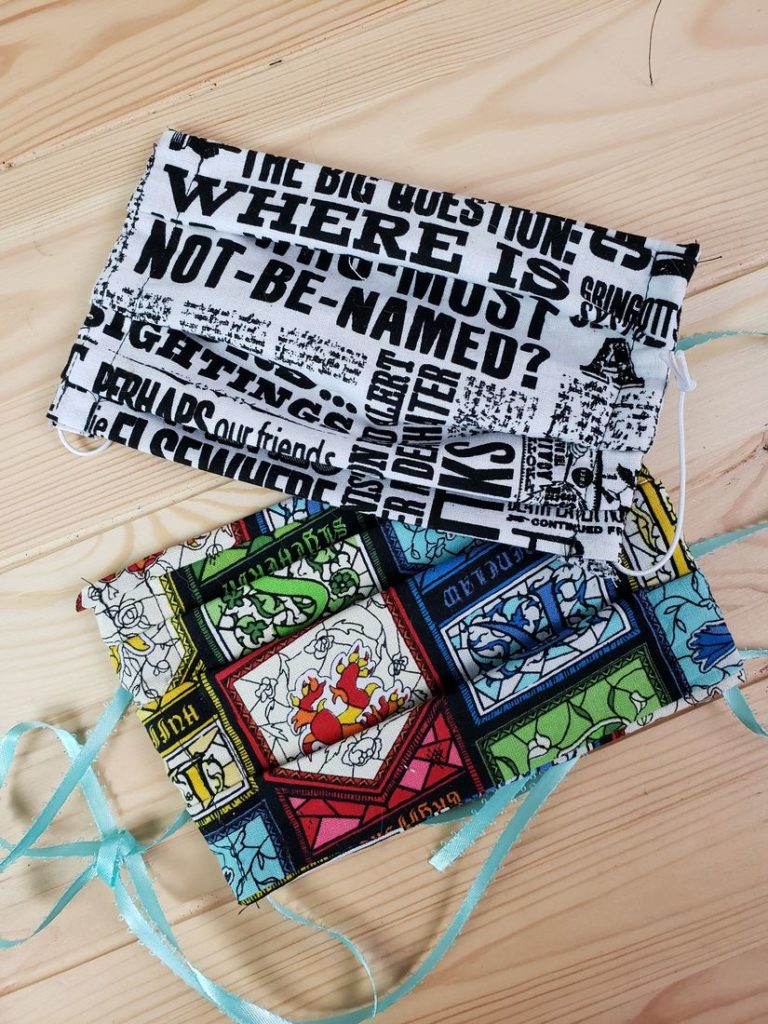
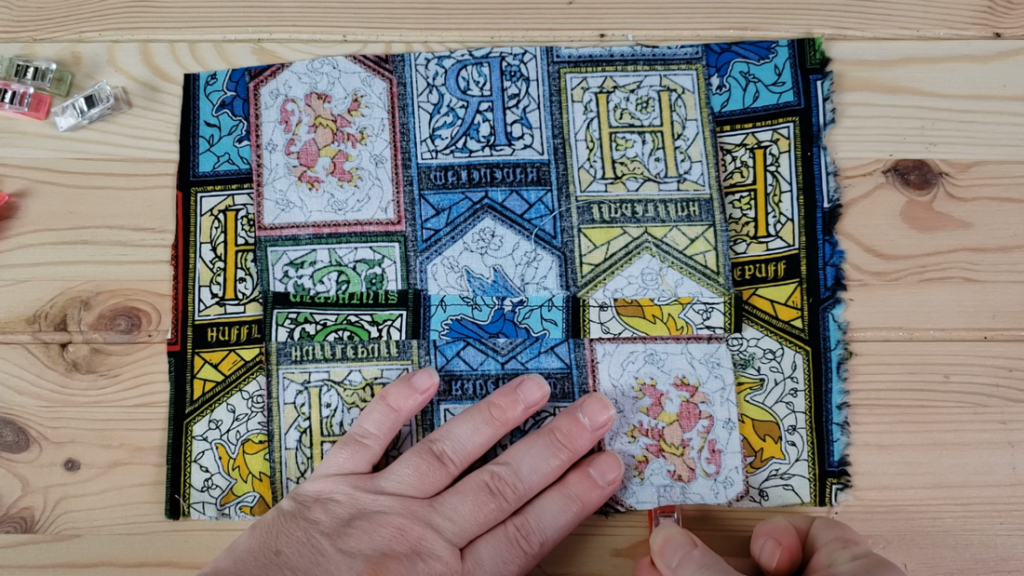
Step one is to cut one piece of material 7 inches by 10 inches. Cut two more pieces of fabric 5 inches by 7 inches. 10 inches being the length on the first one and 7 inches being the length on the second two pieces. Press and stitch across the tops of the two smaller pieces.

Place one piece of the 5×7 material at the bottom and sewing clips. Attach the second piece of 5×7 material with non sewn end on the top. Stitch the fabric together. Details of how to do this can be found below in the video.
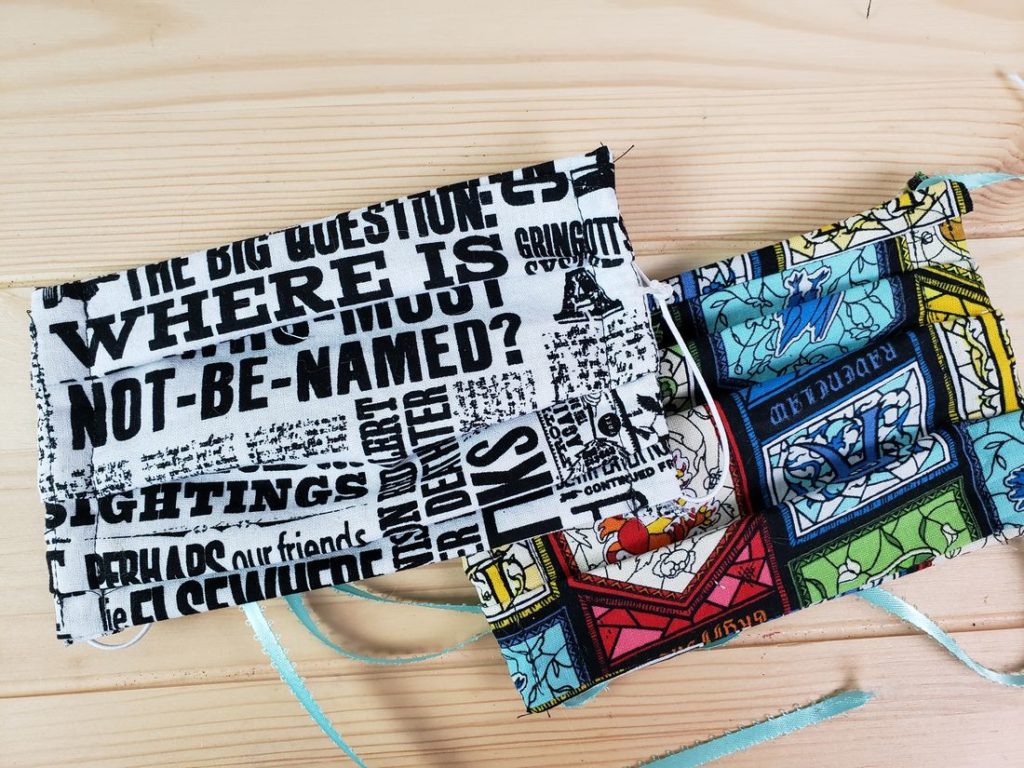
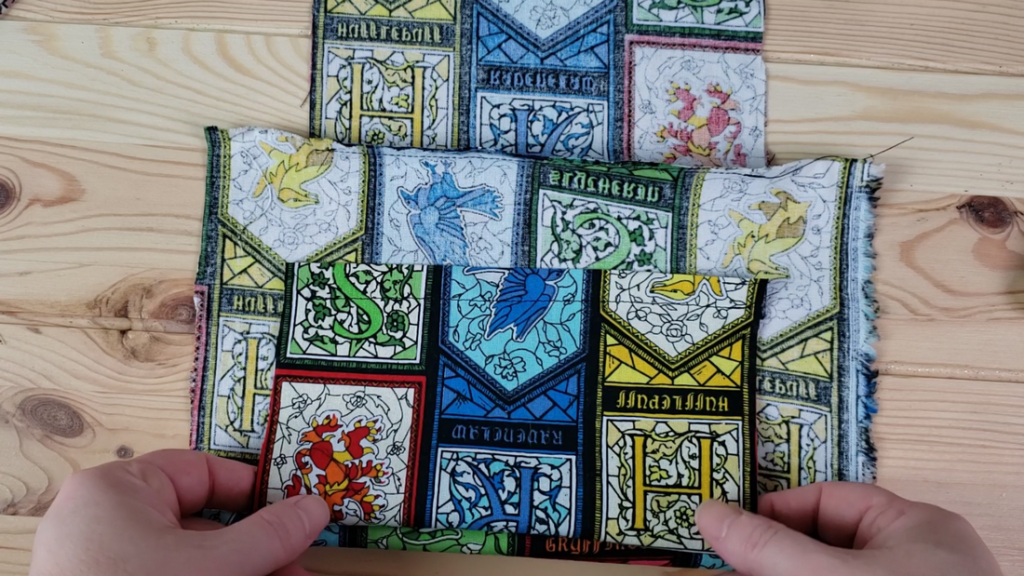
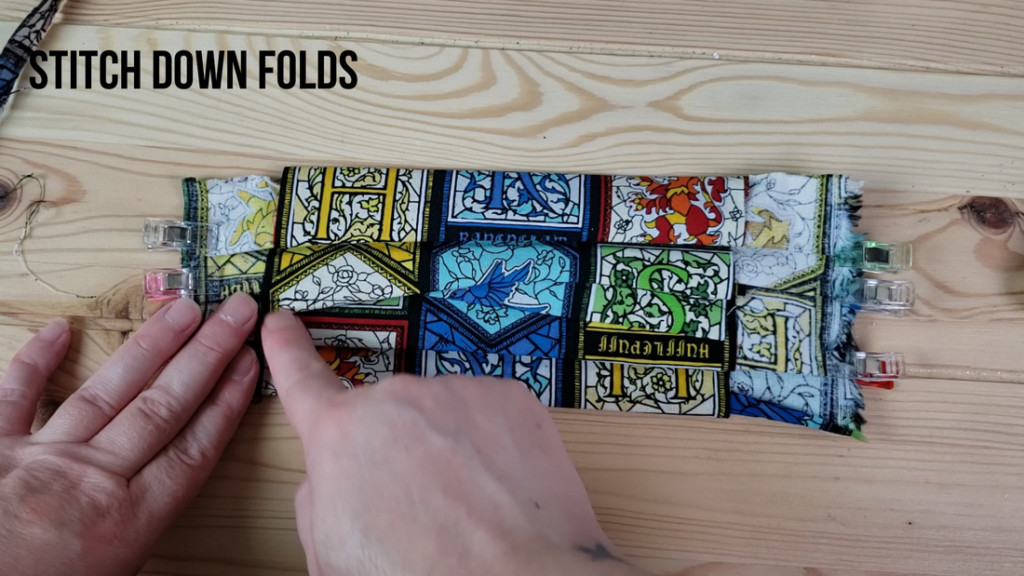
After stitching across the top and bottom. Flip over and fold in the two pieces. Press with iron or with cricut heat press like you see in the video below. Flip over again then make folds into the fabric and secure with sewing clips.
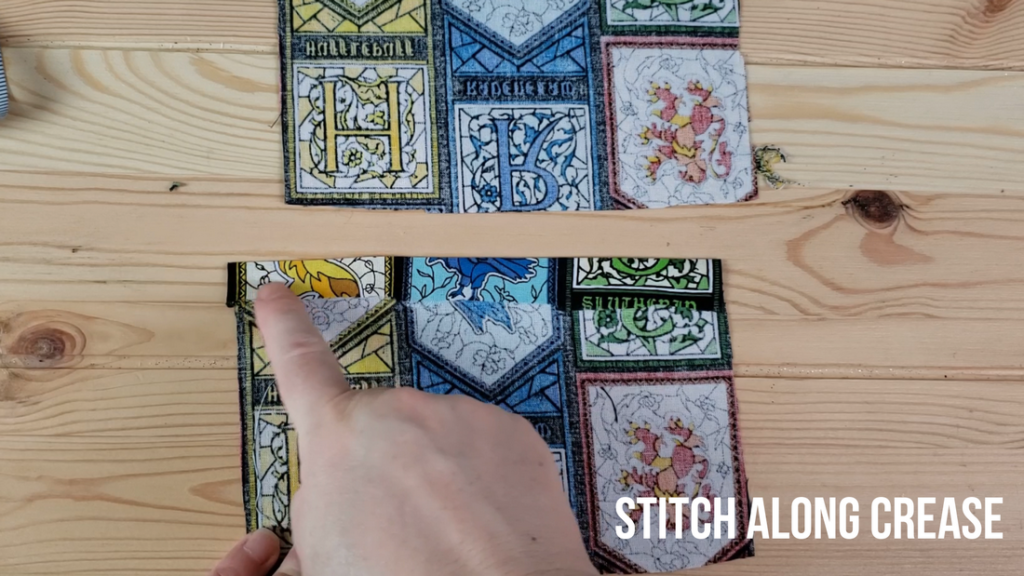
After clipping the folds press them both front and back to help secure. On the inside of the folds stitch down the fold lengthwise. You can get a visual of this in the picture below and in the video.
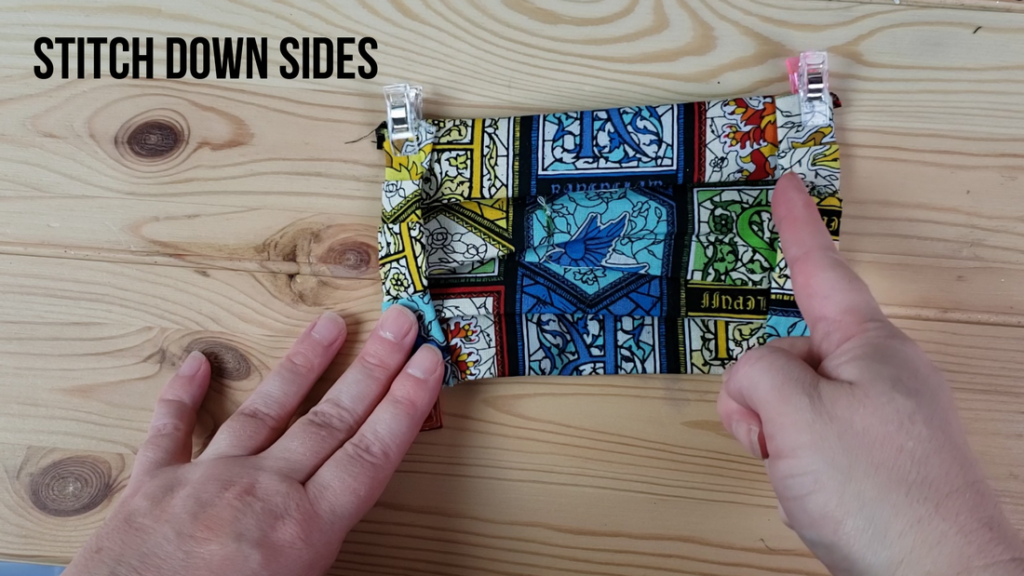
Once you’ve stitched the folds lengthwise. Remove clips and fold once in an press then fold the end again and press. Clip the top and bottom. Do this for each side. This is where your elastic or fabric will feed through to make your ties to attach to the face.
After stitching use a safety pin and thread the elastic (or choice of material) through the holes. I’ve found about 15 inches of elastic allows for adjustment for different face/head sizes. If your making a bunch of these your going to want a big roll of elastic.

Materials Used For DIY Face Mask
In the video it’s shown where the opening is for the extra piece of fabric or filter. If you plan to make these for friends any cotton fabric will work. If you plan to make these for a medical facility I’d call first. One, ask if the face mask is needed. Second if there are any restrictions. Hope this tutorial helps keep your family safe out there!
These are not meant to replace N95 masks. However, something is better than nothing.
Want to join in sewing these for your community. Join us at Masks Against 19.
How To Make A DIY Face Mask Video
Pin Me For Later: